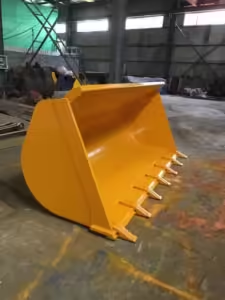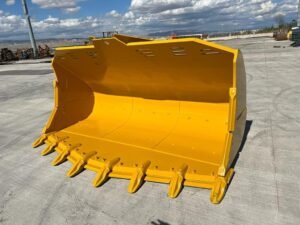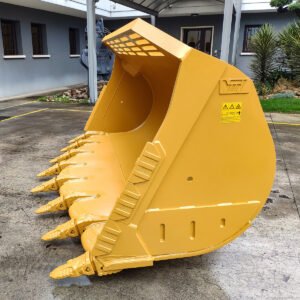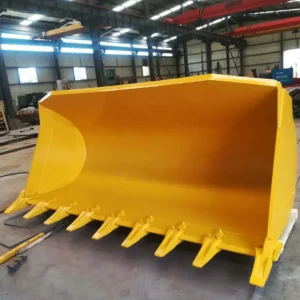
When temperatures drop and the ground freezes, routine excavation becomes a lot harder. An Excavator Single Shank Ripper is one of the most effective tools for breaking up frozen ground, compacted soils, and permafrost-like layers. This blog explains how to choose the right ripper, prepare the jobsite, operate safely and efficiently, and maintain the equipment so you get consistent, productive results during cold-season projects.
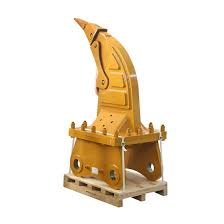
A single shank ripper concentrates hydraulic and mechanical force into a single, hardened tooth that penetrates and fractures frozen soils and frozen layers of clay, loam, and shale. Compared with multi-shank rippers or hammer attachments, a single shank offers:
Greater penetration depth per impact.
Simpler control for precision ripping around utilities or structures.
Lower hydraulic complexity and easier maintenance.
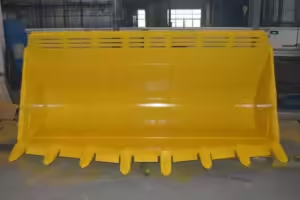
These characteristics make the Excavator Single Shank Ripper ideal for trenching for utilities, preparing foundations, or loosening a frozen frost layer before loading.
Survey the soil and frost depth
Know whether you’re dealing with surface frost, deep frost, or mixed frozen strata. Use soil reports, probe rods, or ground-penetrating tools to estimate depth. That determines how much ripping force and how many passes you’ll need.
Select the right carrier and ripper size
Match the ripper’s shank length and tooth geometry to your excavator’s weight class and hydraulic capacity. Oversized rippers will overstress the carrier; undersized rippers will underperform — both reduce efficiency.
Check for subsurface hazards
Frozen ground can hide utilities, large rocks, or old foundations. Mark known utilities and perform potholing or vacuum-excavation if there’s any uncertainty near critical lines.
Plan logistics
Account for staging of broken material (heaved frost, ice chunks, and frozen clods), access routes for loaders and trucks, and de-icing materials if needed.
Use a controlled approach angle
Position the ripper at an angle that lets the tooth bite and pull rather than purely shear. A slight backward tilt on the carrier helps the tooth pry up frozen slabs.
Work in stages
For deep frost, perform multiple passes: first to fracture and loosen the top layer, then deeper passes after the material has been loosened. Don’t try to pull full-depth in one pass — that strains the machine and the tooth.
Moderate speed and power
Operating too fast reduces bite and increases wear. Use steady hydraulic flow and allow the ripper to do the work — controlled, forceful thrusts rather than frantic hammering.
Combine with pre-conditioning when possible
If schedule and resources allow, pre-warm the ground (solar covers, steam, or water flushing where permitted) or use chemical thawing agents in sensitive areas. Even slight thawing at the surface makes ripping far easier.
Use breakout points and step-ripping
Start ripping at weaker or already-thawed spots to create a breakthrough and then progress laterally. Step-ripping (creating overlapping passes) reduces individual tooth stress and improves fragmentation.
Wear PPE and ensure all crew members are briefed on hazards from flying ice and rock.
Keep a safe exclusion zone around the working ripper. Broken chunks can eject unpredictably.
Monitor machine stability. Frozen ground can create uneven, slick working platforms. Use mats or track pads if necessary.
Be cautious near structures — frozen soil can exert unpredictable forces as it breaks. Avoid undermining foundations without proper shoring.
Inspect the shank and tooth daily
Look for cracks, excessive wear, or loose fasteners. Replace worn teeth proactively — operating with a blunt or damaged tooth increases stress and fuel use.
Lubricate pins and pivot points
Cold weather is hard on grease; check seals and use low-temperature grease where recommended by the manufacturer.
Track hydraulic settings
If the ripper uses dedicated hydraulic settings, verify pressure and flow are within spec. Cold oil flows slower — warming up the system before heavy ripping helps.
Keep spare teeth and pins on hand
Frozen work tends to increase tooth breakage. Having spares on site minimizes downtime.
Break and sort material — large frozen slabs may need secondary fragmentation by dozers or hydraulic breakers before loading.
Plan for thaw runoff — when frozen material thaws, water can create muddy conditions and erosion. Provide drainage or temporary containment if necessary.
Reassess ground for compaction if it’s going to be regraded or used for foundation work; frozen ripping can leave loose pockets that require compaction once thawed.
When buying or renting, request documentation on tooth hardness, shank design, and carrier compatibility. Look for vendors who can support cold-weather operation with winter-grade components and who provide clear replacement part availability.
An Excavator Single Shank Ripper is a powerful, efficient solution for frozen-ground challenges when used with proper planning, technique, and maintenance. The keys to success are matching the ripper to your excavator, breaking the job into staged passes, prioritizing safety, and caring for the attachment with winter-specific maintenance practices. Follow these best practices and you’ll reduce wear, increase productivity, and finish cold-season excavation work reliably.