When it comes to efficient ditch cleaning, trenching, and canal work, the Trapezoidal Bucket stands out as a must-have attachment for excavators. Its unique shape allows for precise cutting angles and a perfectly sloped finish, making it ideal for drainage and irrigation projects. However, to get the most out of your investment, proper installation is critical.
This comprehensive guide will walk you through everything you need to know about installing your new Trapezoidal Bucket, ensuring safety, performance, and longevity.
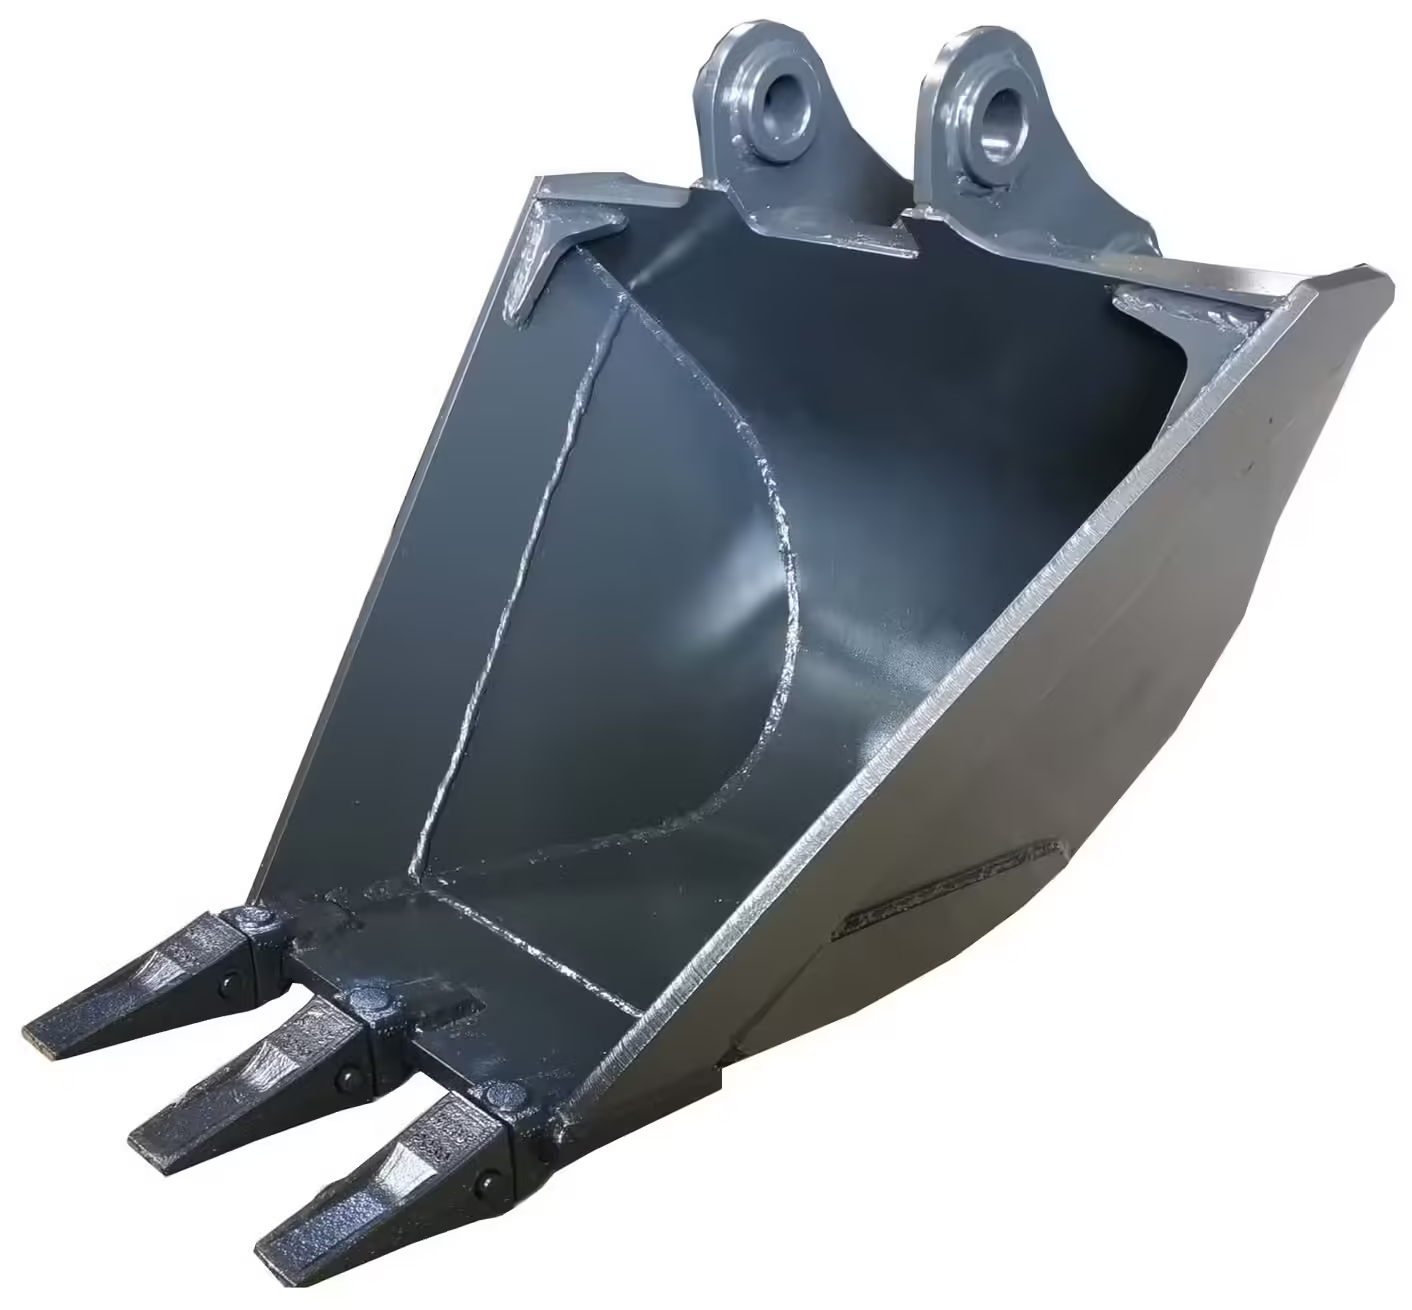
Before diving into the installation process, let’s quickly understand why so many contractors prefer a Trapezoidal Bucket:
Optimized Shape: Designed with angled side walls for creating V-shaped trenches.
Reduced Soil Spillage: The bucket holds soil better during lifting and dumping.
Time Efficiency: Covers more ground with fewer passes compared to standard buckets.
Versatile Applications: Perfect for drainage ditches, canals, and agricultural trenches.
Proper installation ensures these advantages translate seamlessly to your job site.
Before you begin, gather the necessary tools and safety gear:
✅ Excavator (compatible with your Trapezoidal Bucket)
✅ Lifting equipment or crane (if required)
✅ Wrenches and socket set
✅ Pin removal tools
✅ Safety gloves, helmet, and steel-toed boots
✅ Operator’s manual for both the excavator and bucket
Having the right tools at hand will streamline the installation process and minimize downtime.
Start by carefully inspecting your new Trapezoidal Bucket for any shipping damage or defects. Check the pins, bushings, and mounting ears for proper alignment. Similarly, inspect the quick coupler or mounting system on your excavator to ensure it is free of debris and in good working condition.
Move the excavator to a level surface. Lower the boom and position the arm close to the ground for stability. Engage the parking brake and switch off the engine before proceeding.
If your excavator has a bucket or other attachment installed, follow the manufacturer’s guidelines to safely remove it. Use pin removal tools if necessary and store the removed pins in a clean, dry location.
Using lifting equipment or assistance, bring the Trapezoidal Bucket into position. Align its mounting holes with the coupler or the end of the excavator arm. Take your time to ensure precise alignment, which is crucial for a secure fit.
Slide the mounting pins through the aligned holes. Ensure they seat properly and insert locking devices such as retaining clips or cotter pins as required.
If your Trapezoidal Bucket comes with hydraulic functions, connect the hoses according to the manufacturer’s specifications. Check for leaks and secure all fittings.
Once the bucket is installed, start the excavator and test its movement. Slowly curl and uncurl the bucket, raise and lower the arm, and check for any unusual sounds or resistance. Make sure the bucket opens and closes smoothly and holds position under load.
✔ Never work under a suspended bucket. Always use proper lifting techniques.
✔ Double-check all connections and pins. Loose fittings can cause accidents.
✔ Refer to your equipment’s manuals for torque specifications and safety warnings.
✔ Work with a trained operator or technician if unsure about any step.
After successful installation, inspect your Trapezoidal Bucket regularly for signs of wear, especially around the cutting edge and side walls. Grease the pins and bushings periodically to extend their life and maintain smooth operation.
A properly installed Trapezoidal Bucket can significantly improve your excavator’s efficiency and productivity in trenching and drainage work. By following this guide, you’ll ensure a secure attachment, safe operation, and maximum performance on every job site.
Investing a little time in proper installation not only protects your equipment but also boosts your project’s success.