When it comes to heavy earthmoving equipment, efficiency and durability are everything. One of the most important components of an excavator or backhoe is its bucket teeth and side cutters. JCB Teeth & Side Cutter play a vital role in cutting, digging, and protecting the bucket during operations. Proper installation and timely removal not only enhance performance but also extend the life of your machine.
In this blog, we’ll explore why JCB Teeth & Side Cutters matter, the step-by-step process for installing and removing them, and tips for ensuring longevity.
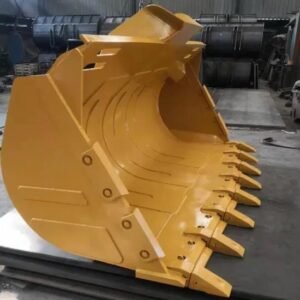
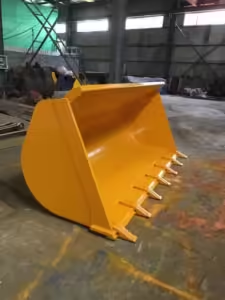
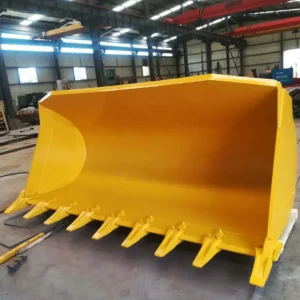
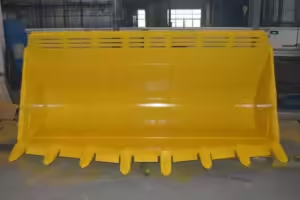
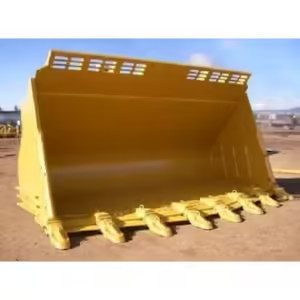
The bucket of a JCB machine is constantly subjected to friction, pressure, and impact while digging into soil, rock, gravel, or other tough materials. To reduce wear and tear, teeth and side cutters are attached to the bucket. Here’s why they are indispensable:
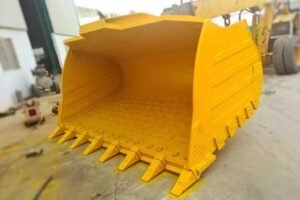
Improved Cutting Efficiency – Sharp JCB teeth cut through the ground faster, reducing fuel consumption.
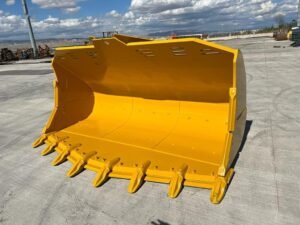
Bucket Protection – Side cutters shield the bucket’s edges from abrasion, increasing durability.
Cost-Effectiveness – Instead of replacing the entire bucket, you only replace worn-out teeth and side cutters.
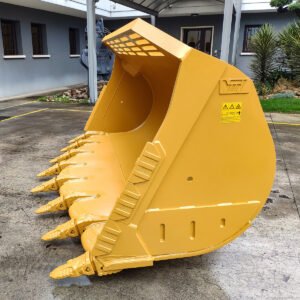
Versatility – Depending on the application, different designs of JCB teeth & side cutters can be used for maximum output.
Before working on the bucket, ensure you have the right tools. Typically, you’ll need:
Hammer or mallet
Punch tool or pin driver
Locking pins and retainers (for new installation)
Safety gloves and goggles
Safety is crucial, as improper handling can cause injury or damage to the machine.
Installing JCB Teeth & Side Cutter is a straightforward process but requires precision:
Before installation, check the bucket’s lip and side edges for any cracks or damage. Ensure the mounting areas are clean and free from debris.
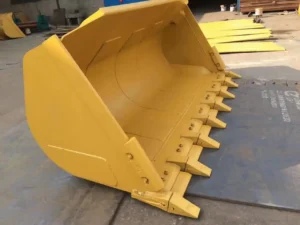
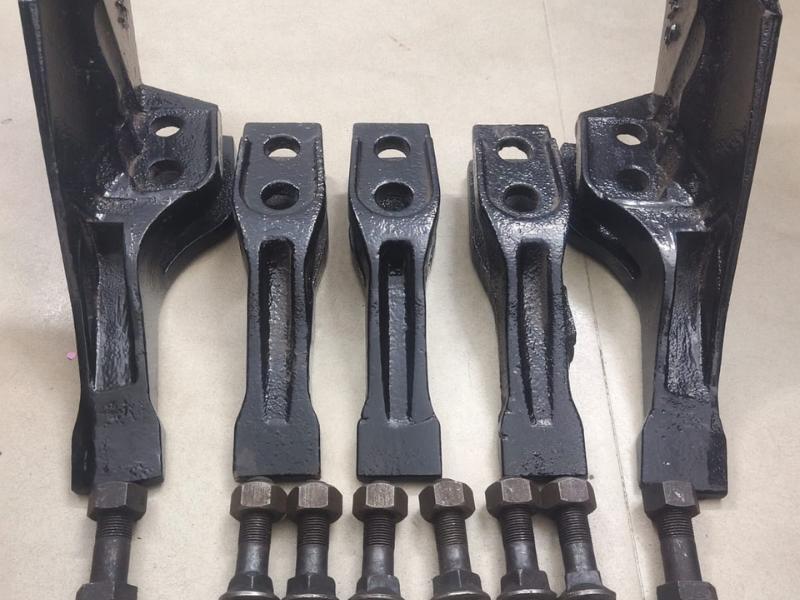
Place the new JCB tooth over the adapter (the part welded to the bucket). Make sure it sits tightly and aligns properly.
Once the tooth is in position, insert the locking pin through the adapter and tooth hole. Secure it with the retainer clip to prevent movement during operation.
Attach the JCB side cutter plates to the sides of the bucket using bolts or pins, depending on the design. Tighten securely to avoid loosening during digging.
Check alignment and ensure all teeth and side cutters are fitted firmly. A loose part can cause accidents or damage to the bucket.
Over time, teeth and side cutters wear out and need replacement. Here’s how to remove them safely:
Park the machine on stable ground, lower the bucket, and ensure the engine is turned off.
Use a hammer and punch tool to drive out the locking pin from the worn-out tooth. Be cautious, as pins may be tight due to dirt or rust.
Once the pin is removed, pull the worn tooth off the adapter. If it’s stuck, use gentle taps with the hammer.
Loosen the bolts or pins holding the side cutters in place and carefully remove them.
Before installing new JCB teeth & side cutters, clean the adapter and bucket surface to ensure proper fitting.
Regular Inspection – Check for wear, cracks, or loose fittings every few days of operation.
Timely Replacement – Never use overly worn teeth, as they reduce efficiency and increase fuel costs.
Use Genuine Parts – Always opt for original JCB Teeth & Side Cutter for best durability and compatibility.
Lubrication – Apply grease or anti-seize compound on pins for easier removal later.
The JCB Teeth & Side Cutter are more than just attachments; they are vital components that ensure smooth and efficient digging. Proper installation enhances productivity, while timely removal and replacement reduce downtime and repair costs. By following the right steps and using genuine parts, you can keep your JCB machine operating at peak performance for years.
Whether you’re in construction, mining, or agriculture, never underestimate the importance of maintaining JCB teeth and side cutters. A small investment in care and replacement can lead to long-term savings and uninterrupted operations.