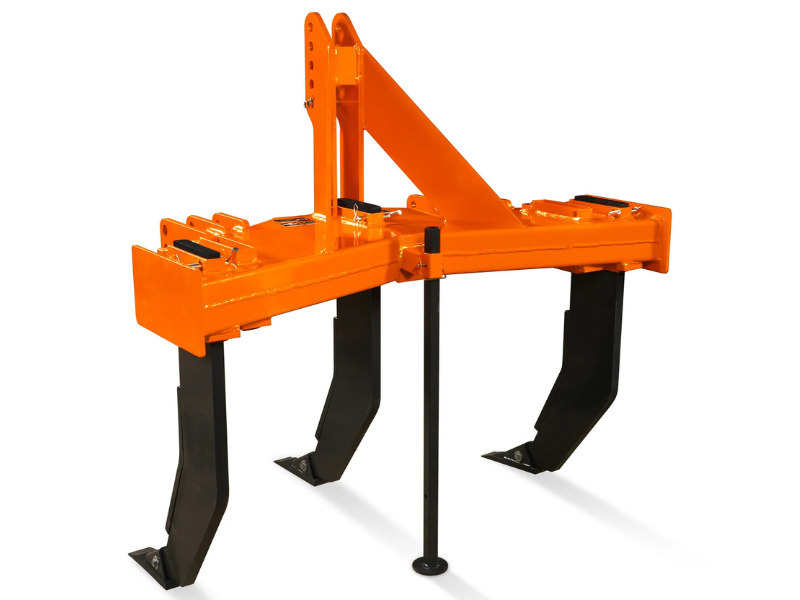
The Triple Shank Ripper is one of the most rugged and essential implements for heavy-duty land preparation, soil breaking, and subsoiling in agriculture, construction, and mining. Built to penetrate hard ground, break compacted layers, and prepare soil for cultivation, the Triple Shank Ripper operates under extreme stress conditions. Over time, its shanks—the critical components that bear the brunt of the work—can experience wear, bending, cracking, or tip damage.
While workshop repairs are ideal, they’re not always possible when working in remote fields or construction sites. This is where field-repair techniques become crucial to keep your Triple Shank Ripper operational and minimize downtime.
Before diving into repair methods, it’s important to recognize the typical problems that can occur with ripper shanks during use:
Worn Tips – The tips of the shanks wear out due to constant abrasion with rocks, roots, and hard soil.
Bending – Striking hidden obstacles like boulders or metal debris can bend the shank.
Cracks or Fractures – High-impact forces can cause cracks at stress points.
Loose or Damaged Fasteners – Bolts and nuts holding the shanks may loosen due to vibration.
For effective field repairs on a Triple Shank Ripper, keep the following tools and materials ready in your on-site repair kit:
Portable welding machine (diesel or battery-powered)
Angle grinder with cutting and grinding discs
Heavy-duty spanners and wrenches
Replacement shank tips and fasteners
Hammer and pry bar
Safety gear (gloves, helmet, welding mask)
Measuring tape and marking tools
Shank tips are replaceable wear parts on most Triple Shank Ripper models.
Procedure:
Secure the ripper in a stable position.
Remove the locking pins, bolts, or clamps holding the tip.
Clean the shank end with a wire brush to remove debris.
Fit the new tip, ensuring it aligns perfectly.
Secure it with new fasteners or locking pins to prevent loosening.
A bent shank reduces ripping efficiency and increases strain on the machine.
Procedure:
Remove the bent shank from the frame.
Heat the bent area with a portable oxy-acetylene torch to make the steel pliable.
Use a hydraulic jack or heavy-duty press to slowly straighten it.
Allow the shank to cool gradually to avoid brittleness.
Cracks can worsen quickly if ignored. Prompt welding can extend the life of the shank.
Procedure:
Grind the crack to form a “V” groove for better weld penetration.
Use a portable arc welder with the correct electrode for high-carbon steel.
Weld in layers, allowing each pass to cool slightly before the next.
Grind the weld smooth and inspect for uniformity.
Vibration from the Triple Shank Ripper can loosen bolts over time.
Procedure:
Inspect all mounting points regularly.
Use locking nuts or thread-locking compound to prevent recurring loosening.
Replace worn bolts immediately to maintain stability.
Field repairs are effective, but prevention is better. Here are tips to extend the life of your Triple Shank Ripper shanks:
Inspect shanks before and after every workday.
Lubricate moving joints and pivot points.
Avoid high-speed operation in rocky terrain.
Rotate shanks periodically to ensure even wear.
While many issues can be fixed on-site, some cases call for complete replacement:
Severe bending that compromises alignment.
Multiple deep cracks near stress points.
Excessive metal loss from wear.
Deformation at mounting points.
In such cases, replacing the shank ensures safety and maintains optimal performance.