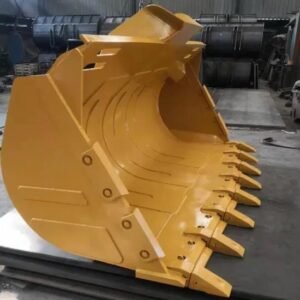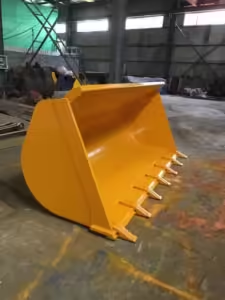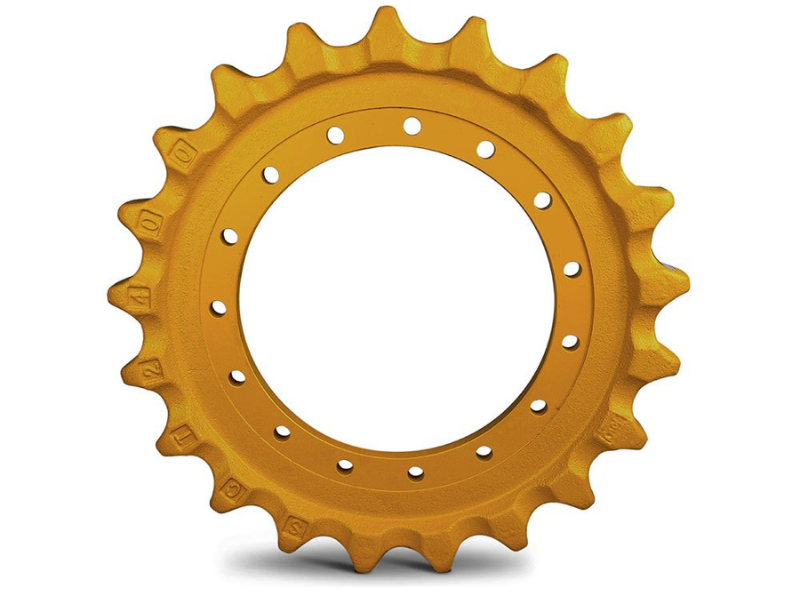
When it comes to maintaining heavy machinery, one of the most crucial yet often overlooked components is the excavator sprocket. The sprocket plays a vital role in the undercarriage system, driving the track chains and ensuring smooth, efficient movement. Over time, sprockets endure significant wear due to constant contact with the track links, dirt, debris, and heavy loads. Replacing a worn-out sprocket at the right time not only improves performance but also extends the overall life of your excavator.
In this blog, we’ll walk through the tools and techniques for excavator sprocket replacement, so you can maintain peak efficiency and avoid unexpected downtime.
The excavator sprocket is directly responsible for transferring engine power to the track. When worn, it can cause:
Slippage between the sprocket teeth and track links
Accelerated wear of the track chain
Reduced traction and efficiency
Risk of chain breakage or machine downtime
Ignoring a damaged sprocket doesn’t just affect performance—it can lead to expensive repairs in the long run. That’s why timely sprocket replacement is an essential part of undercarriage maintenance.
Before we jump into the tools and techniques, it’s important to recognize when replacement is necessary. Here are common signs:
Sharp or Pointed Teeth – Worn sprocket teeth often look sharp, unlike the original rounded design.
Hooked Teeth – Teeth start curving, which indicates uneven wear.
Visible Cracks or Chips – Physical damage on the sprocket body or teeth.
Excessive Track Slippage – The track doesn’t grip as it should, causing jerky movement.
Noise and Vibration – Increased operational noise due to poor alignment.
If you notice these issues, it’s time to replace your excavator sprocket.
To replace an excavator sprocket efficiently and safely, you’ll need the following tools and equipment:
Heavy-duty socket set – For loosening and tightening sprocket bolts.
Torque wrench – To ensure bolts are tightened to the manufacturer’s specifications.
Hydraulic jack or lifting equipment – For raising and supporting the machine.
Impact wrench – To remove stubborn bolts more easily.
Breaker bar – Useful for loosening corroded or tight bolts.
Track press or chain tool – For separating the track chain if needed.
Safety gear – Including gloves, helmet, safety boots, and eye protection.
Lubricants and anti-seize compound – To make reassembly easier and prevent future corrosion.
Replacing an excavator sprocket involves careful handling and proper alignment. Below is a simplified step-by-step guide:
Park the excavator on a flat surface.
Turn off the engine and release hydraulic pressure.
Engage safety locks to prevent accidental movement.
Wear protective gear before starting.
Depending on the machine, you may need to release track tension.
Use the grease fitting or relief valve to reduce tension in the track adjuster.
If necessary, use a track press or breaker tool to separate the chain.
Use a hydraulic jack or lifting equipment to support the track frame.
Locate the bolts securing the sprocket to the final drive.
Remove the bolts using an impact wrench or breaker bar.
Carefully slide the sprocket off the hub. (This may require assistance, as sprockets are heavy.)
Check the final drive for wear or damage before installing a new sprocket.
Inspect the track chain to ensure it’s not excessively worn. Replacing the sprocket without addressing worn tracks can reduce its lifespan.
Position the new excavator sprocket onto the hub.
Insert bolts and tighten them lightly at first to ensure proper alignment.
Using a torque wrench, tighten bolts to the manufacturer’s recommended torque.
Apply anti-seize compound to bolts to prevent future issues.
Reconnect the track chain and restore proper tension.
Ensure the track is aligned correctly around the sprocket and rollers.
Pump grease back into the adjuster to achieve the correct tension.
Rotate the track slowly to verify smooth movement.
Check for abnormal noises or vibrations.
After a few hours of operation, recheck bolt torque to ensure nothing has loosened.
To maximize the lifespan of your excavator sprocket, follow these maintenance tips:
Regularly check track tension and adjust as needed.
Avoid continuous operation on rocky or abrasive terrain.
Grease track adjusters as per manufacturer guidelines.
Rotate or replace track chains and sprockets together if wear is severe.
Keep the undercarriage clean from mud, rocks, and debris.
The excavator sprocket is a small but critical component that ensures smooth and powerful movement of your machine. Timely replacement using the right tools and techniques not only improves efficiency but also prevents costly breakdowns. By following proper installation steps and practicing regular maintenance, you can significantly extend the life of your undercarriage and keep your excavator running at its best.